« plantfoods.org

How to make Rejuvelac


You can make rejuvelac at home from various grains.

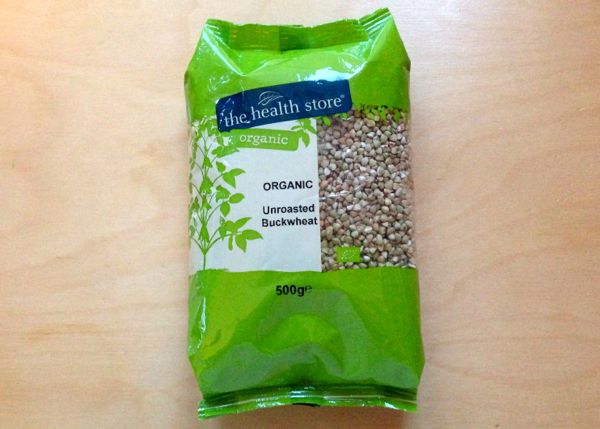
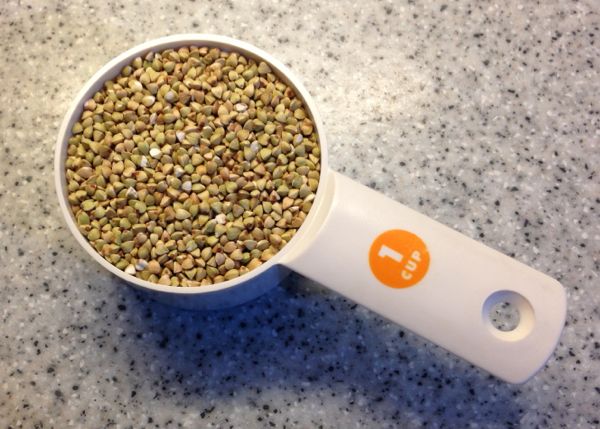
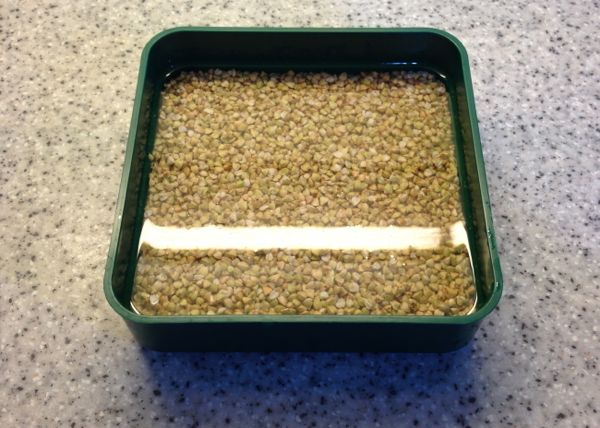
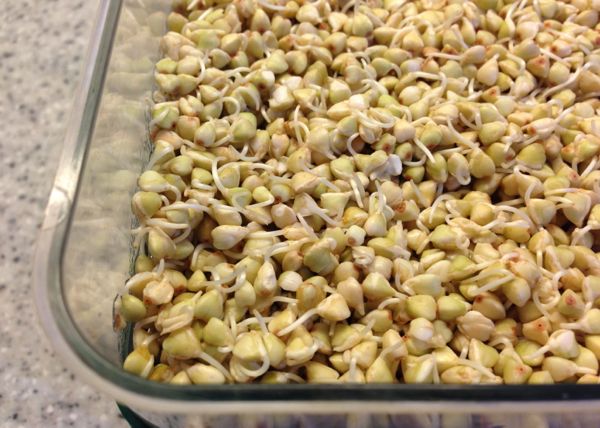
This demo uses buckwheat groats which are widely available and have a very short soaking time. If using wheat berries or other grains, observe the note about longer soaking time.

If you are making rejuvelac at home for the first time, carefully observe the safety notes at the bottom of this page.


1
If using buckwheat make sure you choose unroasted groats. You can also use wheat, oats, rye, quinoa, barley, millet or rice but observe the soaking time note below.
 
2
You need 200g (1 cup) of dry grain. You can use half the amount of grain for a weaker ferment.
 
3
A stacking sprouter is the simplest way to sprout the grains, but you can also use a sieve over a bowl.
 
4
Put the raw grains in the base tray of the sprouter, or in a bowl.
 
5
Cover the grains with cold water. Clean tap water is fine. Use cooled boiled water, filtered water or spring water if your tap water is heavily chlorinated.
 
6
Soak for 20-30 minutes maximum for buckwheat.
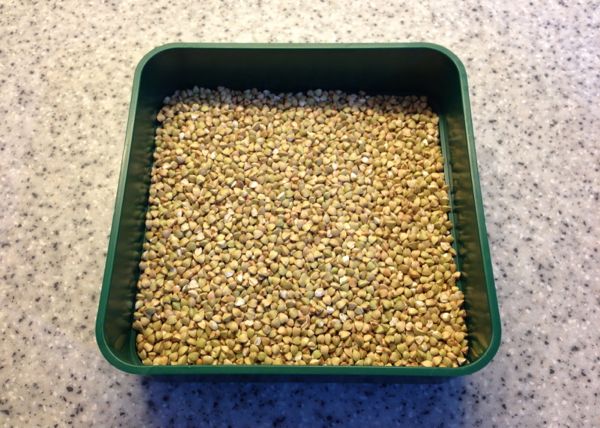
For all other grains soak for 8 hours or overnight.
 
7
Drain the swollen grains in a sprouting tray, or in a sieve.
 
8
Cover with an empty sprouting tray, or other ventilated cover, such as a piece of muslin, cheesecloth, or a clean tea towel. Leave at room temperature to sprout.
 
9
Rinse the grains 3 times a day for 3 days, or until the grains sprout by once or twice the length of the grain. Warmer rooms will sprout grains more quickly.
 
10
To ferment the sprouts you need two beakers or jars. They should hold 1 litre (1 quart) each. We're using yoghurt beakers.
 
11
Divide the sprouted grains between the two beakers.
 
12
Fill each beaker with 700ml (3 cups) of cold water.
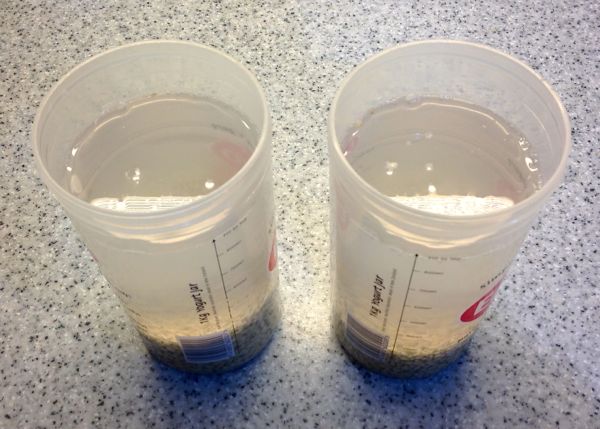
See the note about water quality in the soaking step above.
 
Cover the beakers with clean muslin or cheesecloth, using rubber bands to secure in place. You can also use clean tea towels. Leave the covered beakers to ferment at room temperature, away from sunlight.
 
Stir once a day with a clean spoon. After 3 days or so the liquid should be cloudy.
 
15
To strain the rejuvelac you need another clean jug and a clean sieve.
 
16
Strain the liquid into a clean jug.
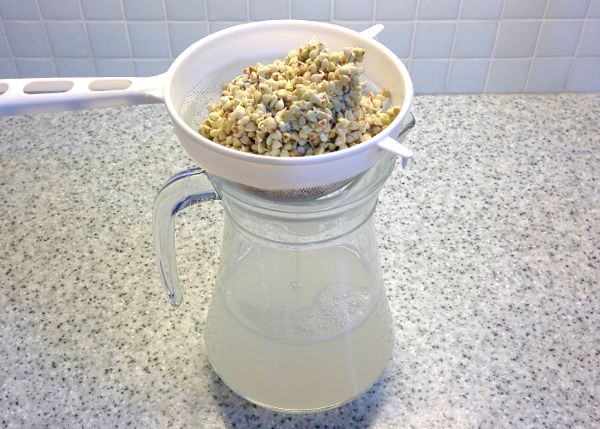
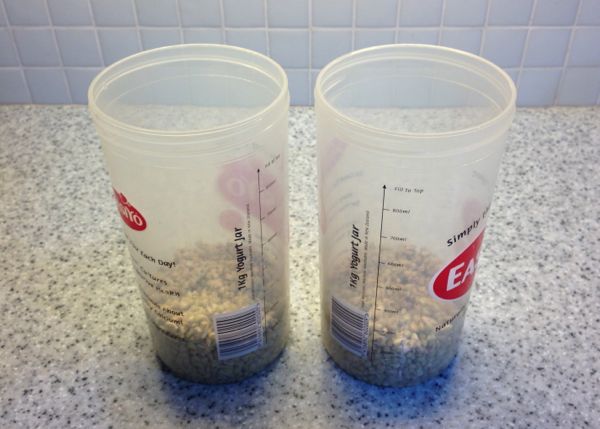
The grains can be returned to the beaker if you wish to re-use them for a second batch (refill the beakers with water and ferment for 1-2 days only)
 
17
The rejuvelac should be cloudy and pale yellow or pale straw in colour.
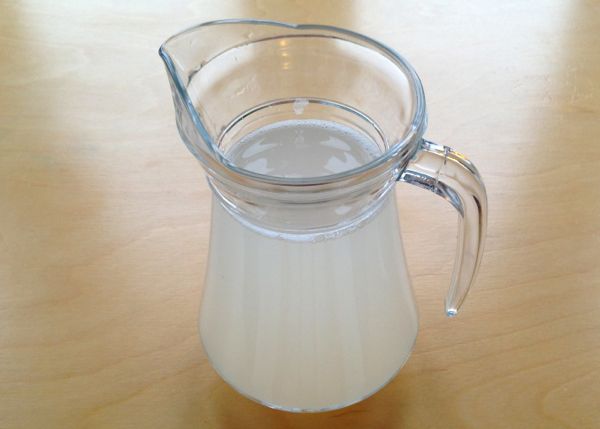
The taste should be sharp, lemony, and a little tangy.
The smell should be just a little earthy, grassy or yeasty, but not too much.
Store the rejuvelac in the fridge at 3C (38F) for up to a week.

You can drink the rejuvelac as a refreshing drink, which has purported benefits to digestion. You can also use it to culture nut/seed cheeses or plantmilk yoghurts.
 

Rejuvelac Health and Safety

When you make rejuvelac, you are culturing wild bacteria and yeasts. There is no guarantee that you are only culturing good bacteria. If you are a novice you can reduce the chances of culturing bad bacteria by following these notes.

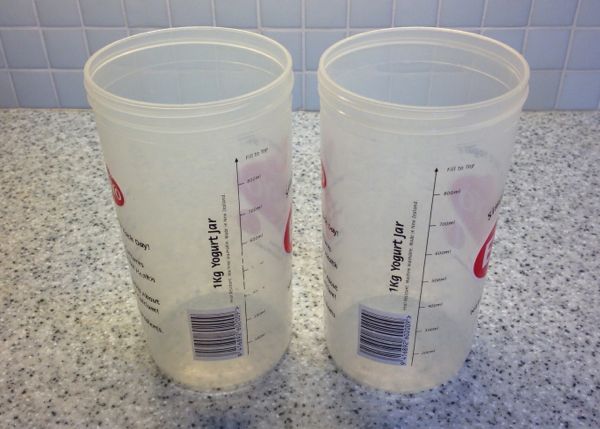
Keep your equipment clean by scalding everything in boiling water before you start

Don't use tea towels to dry equipment, just let it dry

Buy fresh, dry grains from a reliable source

Use cooled boiled water in preference to tap water for soaking/rinsing/fermenting

Don't make rejuvelac if you've never tasted it before...you won't know if it smells/tastes OK

Rejuvelac tastes like the whey drained from soya yoghurt - tart, fresh and acidic. The smell should be just a little earthy. If the taste is earthy, or the smell is strongly earthy, you should discard it.

For your first batch as a novice, drink just half a cup and wait for 3 days. The rejuvelac will keep for a week, and you can drink more after 3 days if it agrees with you!

If you get stomach ache, you may have cultured bad bacteria and you should discard the rejuvelac.

 
How to make Rejuvelac

plantfoods.org